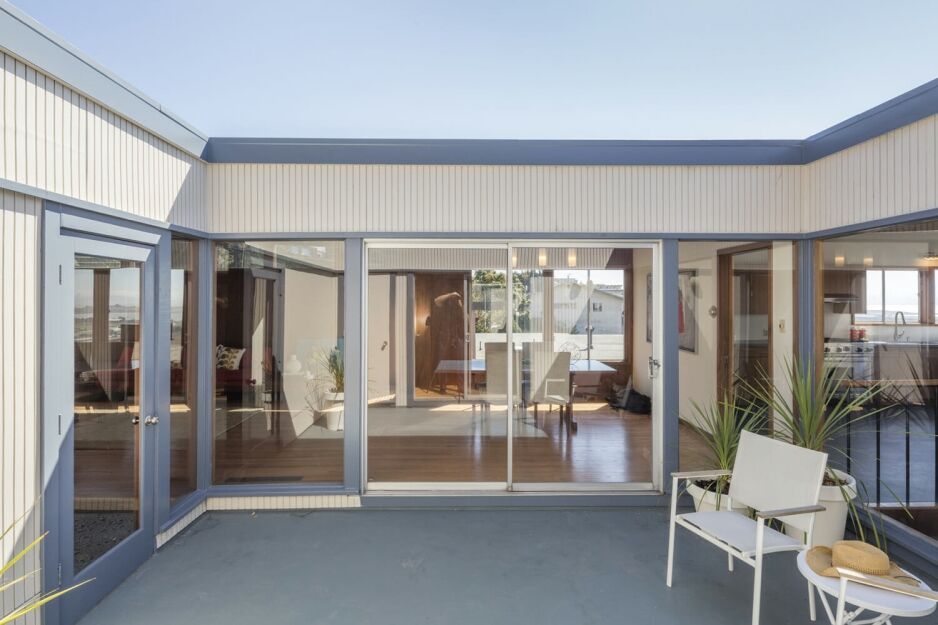
Sliding Door and Flydoor Installation

A practical, step‑by‑step guide for installing aluminium sliding doors and matching flydoors in Perth homes.
This guide turns a basic instruction list into a complete, easy‑to‑follow installation manual. It explains the right order of operations, what tools you’ll need, how to check level and plumb, and the small adjustments that make a sliding door glide like it should. You’ll also find notes for installing a flydoor and quick fixes for common issues.
Tools & Materials
You’ll need:
- Tape measure and builder’s level (1.2–1.8 m)
- Packers/shims and wedges
- Drill/driver with suitable bits
- Self‑tapping and self‑drilling screws (as specified by the door system)
- Rubber mallet and flat screwdriver
- Silicone sealant (exterior grade) & applicator
- PPE: safety glasses, gloves, dust mask, hearing protection
- Vacuum/brush for cleanup
Before You Start: Frame Checks
Prepare the opening and sill so the door will sit level, square and plumb. Pack the sill until firm and recheck after packing. Measure diagonally from corner to corner; the measurements must match for the frame to be square.
Tip: Write the diagonal measurements on painter’s tape on the jamb—if they change later, you’ll spot movement immediately.
Sliding Door Installation
1) Set & Fix the Frame
Place the door frame into the opening. Check level across the sill, then plumb each jamb and check head level. Once level, square and plumb, fix temporarily. Re‑check diagonal measurements and adjust packing until both diagonals are equal. Fully fix off according to the manufacturer’s fixing schedule.
2) Install the Mobile (Sliding) Sash
From the exterior, lift the mobile sash up into the inner head track and swing the bottom into the inner sill track. Ensure the interlock mohair faces the outside so it engages with the fixed panel correctly. Confirm the sash rolls smoothly on the sill track.
3) Install the Fixed Sash
From the exterior, place the fixed sash into the centre head track and swing the bottom into the centre sill track. Make sure the interlock mohair faces the inside. Slide the fixed panel into the jamb groove so it beds correctly. If your system includes a sash insert (e.g., ABS38), it must sit at the end of the sash, away from the jamb.
4) Fit the Top Retaining Bracket
Push the top bracket into the outer head track and slide it between the head and the top of the fixed sash. Secure with the specified self‑tapping screw. If the head has a slight bow and the bracket won’t seat, remove the small corner tab (where applicable) and refit.
5) Secure the Fixed Sash at the Jamb
From the interior, fix the fixed sash to the jamb using two self‑drilling screws—about 200 mm from the top and bottom. Drive the screws through the jamb mohair and groove so the panel remains tight and rattle‑free.
6) Square the Mobile Sash & Adjust Rollers
Check the sliding sash is square and aligns with the frame. Adjust the roller screws left or right until the reveals are even and the lock stile meets the keeper cleanly. The door should glide closed without lifting.
7) Set the Head Stop / End Plug
Loosen the top screw at the mobile sash. Fit the sash end plug or head stop against the sash in the head track, then retighten the screw. Cycle the door several times and fully tighten once operation is smooth.
Flydoor (Sliding Screen) Installation
1) Hang the Flydoor on the Head Track
Loosen the head roller screws until the rollers extend above the flydoor head. With the rollers facing inside, locate both wheels in the head track. Lift the panel and sit the bottom edge over the sill track.
2) Set Roller Height & Bottom Guide
Hold the flydoor up so the top mohair touches the head frame, then tighten the head roller screws. Loosen the bottom guide screws, lower the guide to capture the sill track and retighten.
3) Final Checks
Confirm the flydoor runs freely with top and bottom mohair contacting the frame. Clip the plastic roller cover in place to finish.
Quality Checks & Troubleshooting
- Door won’t slide smoothly: Re‑check level and plumb; adjust roller heights so the stile is parallel to the jamb. Clean debris from tracks.
- Panels rub or gap at interlock: Verify mohair orientations (mobile to outside, fixed to inside) and confirm frame squareness via diagonals.
- Water or air leaks: Seal external perimeters with exterior‑grade silicone and ensure drain slots are unobstructed.
- Lock misalignment: Adjust striker/keeper position after final roller adjustment, then test with door fully latched.
Care & Maintenance
Keep sill tracks free of grit by vacuuming regularly. Wash frames with mild soapy water and a soft cloth; avoid abrasive cleaners. Annually, check fixings, adjust rollers if needed, and apply a light silicone‑safe lubricant to moving parts.
Looking for a New Sliding Door?
If you’d prefer a factory‑built system that installs cleanly and performs for years, consider our range of aluminium doors by Jason Windows. Our Single Sliding Doors and Double Sliding Doors are purpose‑designed for WA conditions, with smooth‑rolling hardware and excellent weather performance.
Always follow the specific installation instructions supplied with your door system. This guide is general in nature and may not cover model‑specific variations.