
How to Choose Tiles for Your Home: A Practical Guide

A tile can look right and still be wrong for the place you plan to use it. Knowing how to choose tiles means checking the room and surface before settling on colour or pattern. I often see homeowners start with a style they like, then discover they first need to confirm whether the tile suits a floor, wall, wet area or outdoor space.
In this guide, I’ll take you through the decisions in the order I recommend making them. We’ll start with the intended application, then look at suitability, material, finish, size, edge, colour, grout, quantity and budget. This practical approach helps Perth homeowners compare tiles for their home on more than appearance alone and understand what to check before buying. It also gives you the right questions to ask before ordering or speaking with your tiler.
Choose tiles by starting with the room and surface. Confirm that the manufacturer identifies the tile as suitable for the intended floor, wall, wet or outdoor application. Then compare the material, tested slip resistance, finish, size, edge, maintenance, total cost, required quantity, batch details and installation needs.
Start With Where the Tile Will Be Used
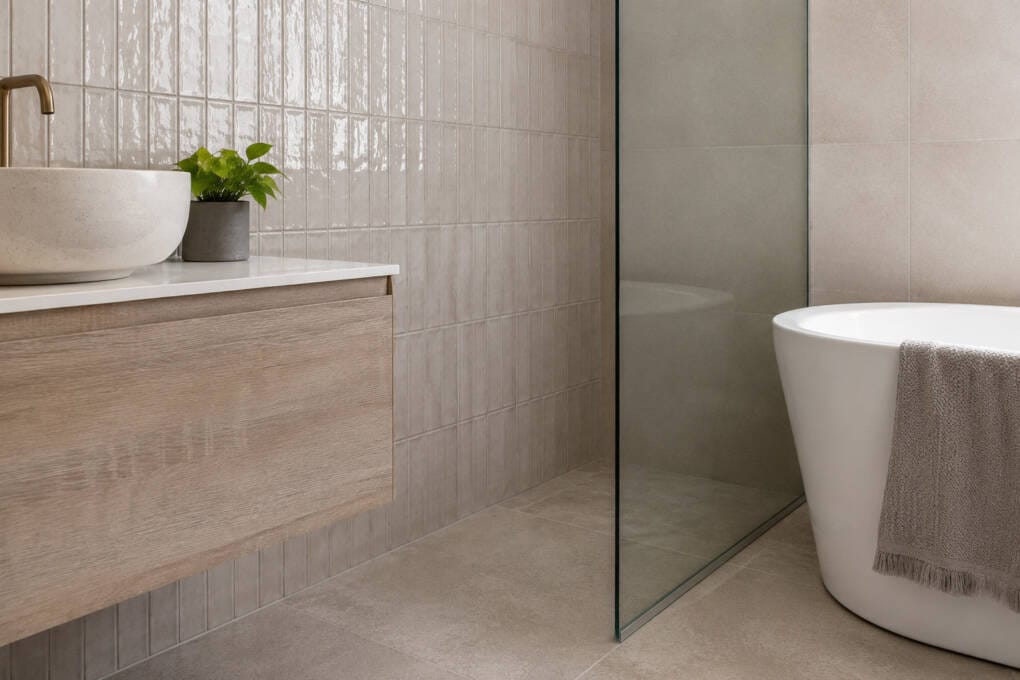
Start by deciding exactly where each tile will go. A bathroom floor, kitchen splashback, living area and outdoor surface each demand different things. The room is the starting point, but the exact product must still be identified as suitable for that surface and use.
| Room or surface | Main checks | Typical starting options |
| Bathroom floor | Floor suitability, tested wet slip performance, drainage and cleaning | Floor-rated ceramic or porcelain suited to wet areas |
| Bathroom wall | Wall suitability, cleaning, water exposure and substrate | Ceramic, porcelain or suitable mosaic |
| Kitchen floor | Floor suitability, wear, spills, cleaning and transitions | Floor-rated ceramic or porcelain |
| Kitchen splashback | Wall suitability, cleaning, fittings and cooktop requirements | Ceramic, porcelain or suitable glass, metal or tile mosaic |
| Living area | Floor suitability, traffic, layout, transitions and maintenance | Floor-rated ceramic or porcelain |
| Outdoor area | Exterior suitability, tested slip performance, drainage and weather exposure | Product identified for exterior floor use |
For more detail on vertical applications, our guide to choosing wall tiles explains what to check for bathroom walls and splashbacks.
A customer once came into our showroom wanting to use a decorative tile across a bathroom floor. When I checked the product information, it was suited to walls instead. We kept it as a wall feature and paired it with a suitable floor tile. They kept the look they liked without using the decorative tile in the wrong application.
Once you have suitable options for every surface, comparing material, finish and design becomes much easier.
Check That the Tile Is Suitable for the Job
Material, colour and finish names do not prove where a tile can be used. Learning how to choose tiles means checking the information supplied for the exact product rather than relying on a broad material description.
Check Floor and Wall Suitability
Never assume that a wall-only tile is suitable for a floor. It may not be made to handle foot traffic or the demands of that application. Some floor tiles can also be used on walls, provided the product weight, wall substrate and installation method are suitable.
Check the product description, packaging and technical information before buying. If anything is unclear, ask us to confirm the intended use.
Check Wet-Area and Outdoor Suitability
Low water absorption does not make a tiled wet area waterproof. Tiles form the visible finish, while a compliant waterproofing system protects the building elements beneath. The ABCB’s guidance on Australian wet-area waterproofing requirements explains where these building elements need protection.
For outdoor use, confirm that the exact tile is intended for exterior installation. Its surface and tested slip classification should also suit the likely wet conditions. Do not assume every porcelain tile can be used outside or that every ceramic tile is restricted to indoor areas.
Read the Product Information Before Buying
When deciding how to select tiles for a specific application, start with the manufacturer product information. Look for floor or wall use, internal or external use, wet-area suitability, tested slip classification, shade variation, and any installation or sealing instructions.
Each classification answers a different question. Water absorption does not establish slip resistance, wear suitability or waterproofing compliance. Our guide to understanding tile ratings and grades explains the different systems in more detail.
Once the exact product passes these checks, you can compare materials without relying on broad assumptions.
Choose the Right Tile Material
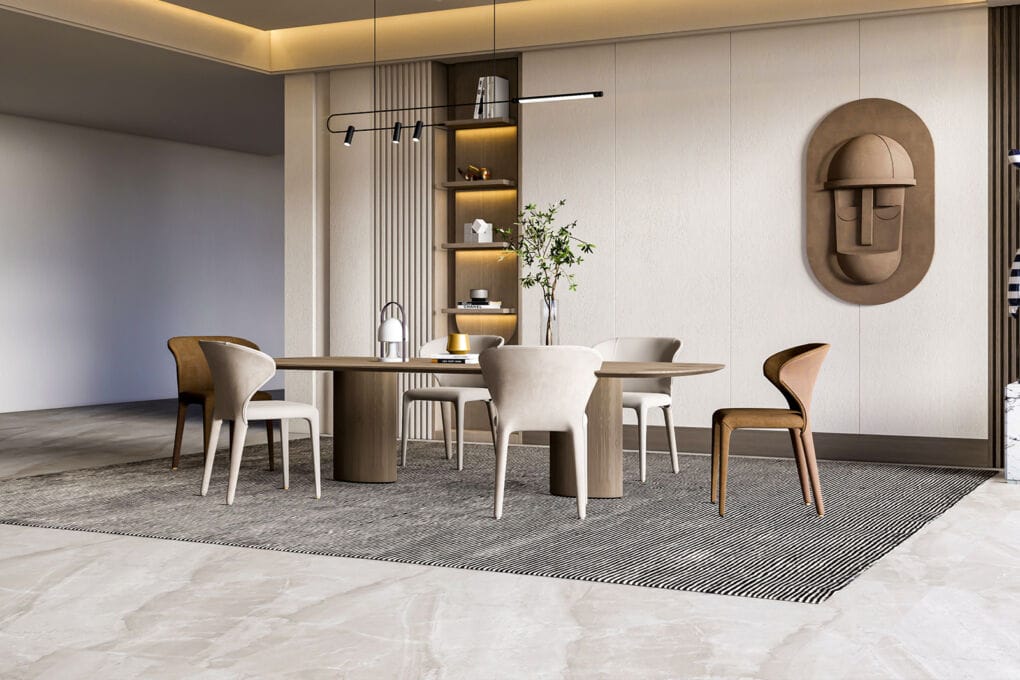
When choosing tiles, material affects weight, water absorption, cutting, durability, cost and common applications. These differences help narrow the options, but exact product suitability still controls where a tile can be used. Here is how the main materials in our current range compare.
| Material | Common strengths | What to check | Typical Ross’s use |
| Ceramic | Often affordable, lighter and easier to cut, with many wall designs | Floor suitability, water exposure, finish and product instructions | Walls, splashbacks and floors where the product is floor-rated |
| Porcelain | Dense, low water absorption and available in many floor and wall formats | Tested slip performance, internal or external suitability, finish, installation and sealing instructions | Floors, walls and some exterior areas where the product is suitable |
| Glass, metal and tile mosaics | Detail, colour, texture and easier shaping around some small areas | Cleaning requirements, wet-area suitability, substrate, adhesive and whether the product is wall-only | Feature areas and splashbacks from our small current selection |
This comparison is a starting point, not a substitute for exact product information.
At Ross’s, ceramic and porcelain cover most whole-home tile decisions. Neither is always better. How to pick tiles from these materials depends on the application and the information supplied for the exact product.
Our guide to choosing ceramic tiles explains the features, finishes and applications to compare within that material. Our guide to choosing porcelain tiles covers its formats, finishes and suitability checks in greater detail.
Start with products suited to the job, then compare the material based on handling, installation, maintenance and your budget.
Choose a Finish and Check Slip Resistance
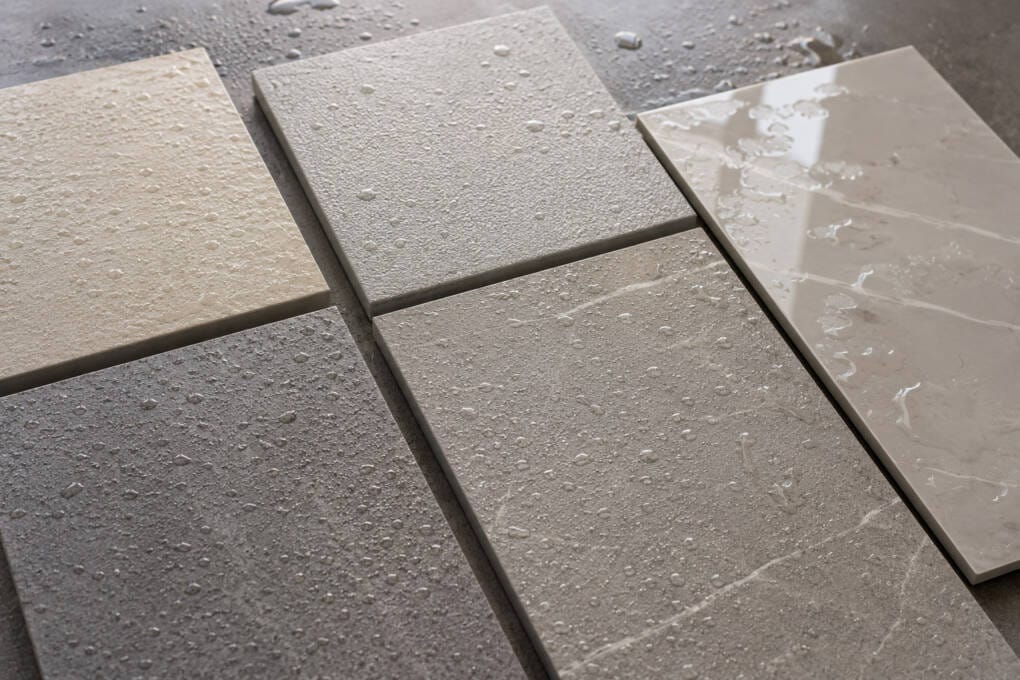
A tile’s finish changes its sheen, texture, feel and cleaning needs. However, the finish name alone does not confirm whether it suits a wet floor or outdoor surface. Check the exact product’s intended use and tested slip resistance.
- Gloss and polished. A gloss finish or polished finish reflects more light, but can show marks and water spotting. Do not assume every shiny tile is unsuitable for floors. Check its product information and slip-test results for the application.
- Matt. A matt finish has less sheen and often hides everyday marks better. However, matt does not automatically mean slip-resistant. Smooth matt surfaces can perform differently from textured ones, so the exact product still needs checking.
- Textured and structured. A textured finish can add visual depth and contribute to grip. More surface texture can also hold dirt and require extra cleaning. Texture is something you can see and feel, but tested performance must guide safety decisions.
Wet floors and outdoor areas need slip performance suited to the application and likely conditions. A P-rating is one classification you may see from wet pendulum testing. The AS 4586 slip-resistance classification covers new pedestrian surface materials. It does not set one universal P-rating for every residential bathroom.
Our tile finishes guide compares appearance, cleaning and practical characteristics in more detail.
Once you have chosen a suitable finish, consider how the tile’s size and edge will work with the room and installation.
Choose the Size and Edge
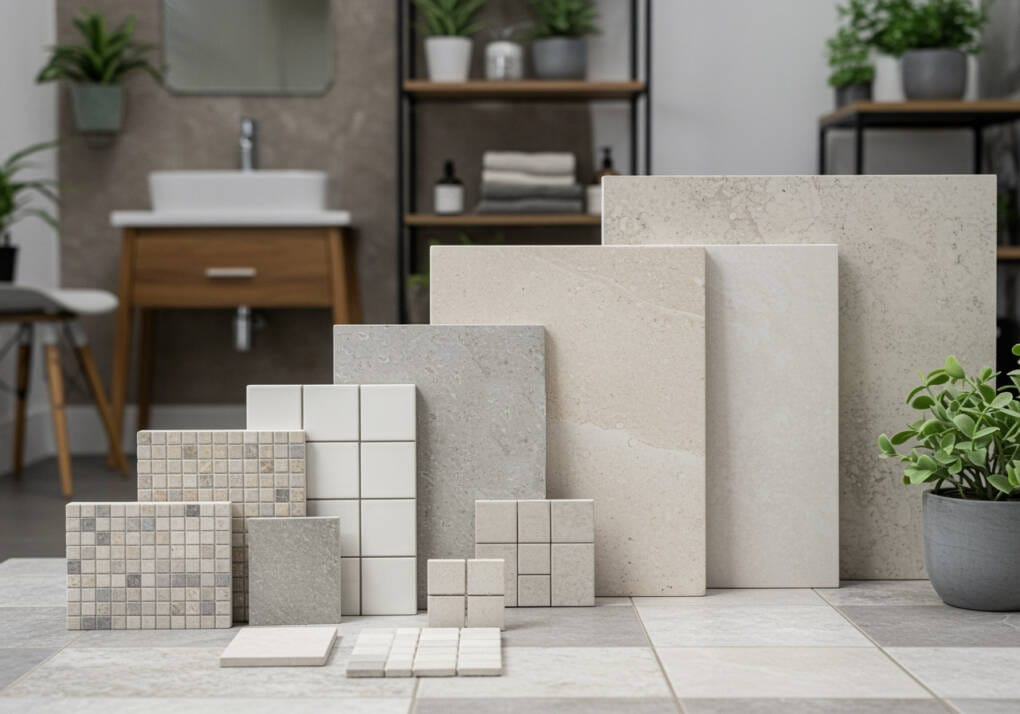
Tile size changes grout frequency, the cuts required and the visual rhythm of a surface. Room dimensions matter, but they do not determine the best tile format alone. Layout and installation requirements need equal attention.
Plan the Tile Size Around the Layout
Measure the room and note doorways, cabinetry, niches, floor wastes and transitions. Consider where full and cut tiles will sit before ordering. Our tile size guide explains how different formats affect layout, appearance and maintenance.
Large tiles can reduce grout lines, but they may create awkward cuts. They can also make falls harder to form in some wet areas. Smaller formats can work around curves, niches and shower falls, although the extra grout lines add cleaning and visual detail.
I recommend asking your tiler to review large-format layouts, wet-area falls and substrate flatness before you buy. This can identify installation problems while you can still change the format.
Compare Pressed and Rectified Edges
A rectified edge is cut more precisely after firing. It can support narrower grout joints when the product and installation allow. The result is never grout-free, and tighter layouts can demand better substrate preparation and lippage control.
A pressed edge has a softer profile and generally uses wider joints to accommodate small size variations. Our guide to pressed and rectified tile edges explains how both options affect grout joints, installation and appearance.
Once the format and edge suit the room, you can narrow the colour, pattern and grout without undoing those practical decisions.
Narrow the Colour, Pattern and Grout
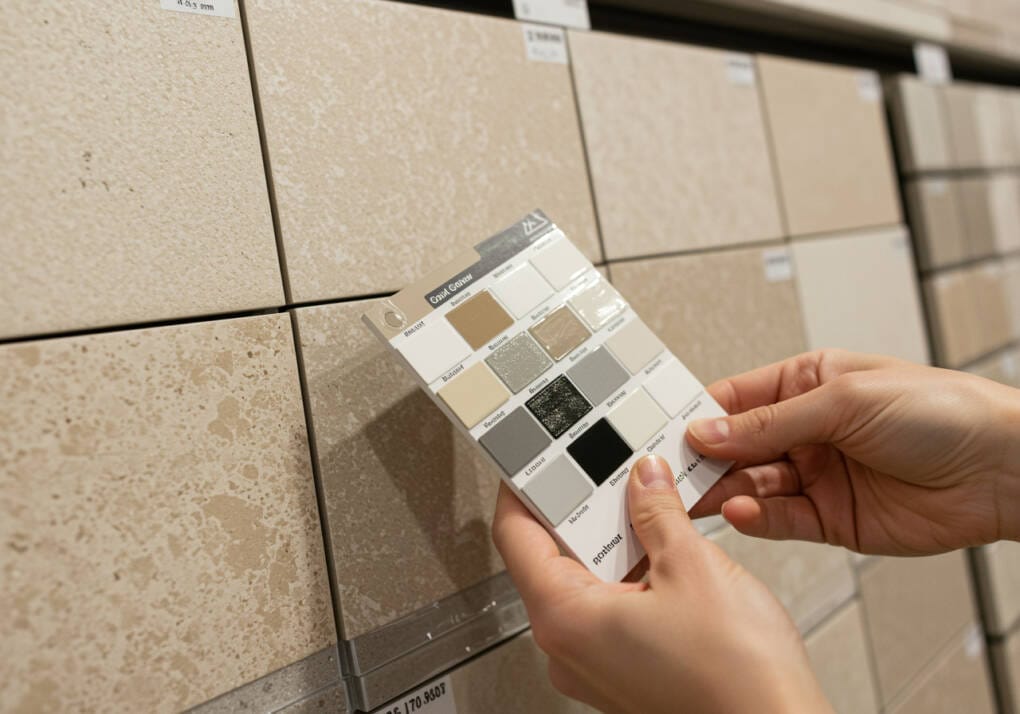
Colour, pattern and grout come after suitability, material, finish and format. This stage of tile selection determines how the surface works with cabinetry, benchtops, paint and adjoining rooms. Keep those fixed finishes nearby as you narrow the options.
- Colour: Compare each tile’s undertone with the main finishes. A warm white can sit differently beside cool white cabinetry, while grey may lean blue, green or brown. View the combination rather than choosing each item separately.
- Pattern: A simple pattern layout can make a strong tile feel calmer. Directional or patterned layouts add movement, but usually need more planning and cutting. Consider where the pattern starts, ends and meets fittings.
- Grout: A close grout colour creates a quieter surface, while contrast outlines each tile and highlights the layout. Joint width and cleaning also affect the decision. My guide to choosing a grout colour covers these choices in more detail.
I recommend visiting Ross’s showroom in Guildford to compare colour, surface and texture in person. These details can look different on a screen or under different lighting.
With your tile design settled, confirm the order quantity and batch details before buying.
Plan Quantity, Batch, Budget and Installation
A suitable tile can still create delays or extra costs if you overlook the order details. If you are wondering what to look for when buying tiles for a new house, check the measurements, quantity, batch, layout and installation requirements before ordering.
- Measure each surface. Calculate the area that will actually be tiled. Measure walls, openings and separate floor zones individually instead of relying on the room’s overall floor area. Our tile calculator can combine these measurements, account for openings and estimate the number of boxes required.
- Allow 10% for wastage. We recommend adding a 10% wastage allowance for normal cuts, breakage and future repairs. Complex patterns or layouts may require a different allowance, so confirm this with your tiler. Our online store can automatically add the 10% allowance to your order.
- Check the batch and shade before laying. Make sure every box matches the order and expected batch or shade. Where shade variation is part of the design, open several boxes and compare the tiles before installation. Keep useful spare tiles for future repairs.
- Budget for the full installation. Allow for adhesive, grout, trims, substrate preparation, waterproofing where required, cuts and labour. A lower tile price does not always mean a lower installed cost.
During one of my own renovations, ordering the exact measured area would have left no allowance for doorway and edge cuts. Adding 10% covered the usable cuts and left a few matching tiles for future repairs. That was much safer than returning later and hoping another batch would match.
You can also manage the budget by using a feature tile selectively and choosing a good-value background tile for larger surfaces. Before placing a large or complex order, ask your tiler to confirm the final quantity and layout.
Frequently Asked Questions
These answers cover the checks I recommend when customers ask how to choose tiles for home projects or how to pick tiles before ordering.
So, Which Tiles Should You Choose?
Knowing how to choose tiles comes down to making the decisions in the right order. Start with the room and surface, then confirm that the exact product suits the application. Once product suitability is clear, compare the material, finish, size, edge, colour and grout.
The best choice meets the application and installation requirements while fitting the appearance you want and your overall budget. Allow 10% for wastage, check the batch before installation and ask your tiler to confirm the quantity and layout for a large or complex order.
You can browse our full tile range online to narrow your options before visiting us. Then compare suitable products in person at Ross’s, where you can see differences in colour, finish and texture. Bring your measurements and project details so our team can help you check product suitability before you order.
