
How to Install a Bathroom Vanity
A vanity is an integral component of a bathroom, not only in terms of functionality but in terms of design also. It needs to facilitate our washing needs and be aesthetically pleasing. If your bathroom vanity fails in either area or, worse, in both, it will certainly pay to install a new one.
Installing a bathroom vanity will provide the necessary functionality and shed new light on your bathroom design. Best of all, it is much more straightforward than you might imagine—particularly if you purchase your vanity from Ross’s Discount Home Centre. The fantastic part about installing one of our vanities is half of the work is already done for you! Unlike other suppliers, our vanities are pre-assembled in our factories and are delivered and ready to be installed.
While Ross’s Discount Home Centre is one of the leading suppliers of bathroom vanities in Perth, our service goes beyond providing customers with quality products at affordable prices. We believe our after-sales service and support are just as reliable as our pre-sales. We are here for you, in any way we can, to help you with the installation process. Thus, today, we look at how to install a bathroom vanity.
Our range features two types of bathroom vanity cabinets: freestanding vanities and wall-hung vanities—otherwise known as floating vanities. Today, we’re going to explore the installation of freestanding vanities. However, if you’re installing a wall-hung model, refer to our guide, How to Install a Wall Hung Vanity.
How to Remove the Old Vanity
If you’re renovating an existing bathroom, before installing your new vanity, you’ll need to remove the old one. Follow these steps to make the process smooth and hassle-free.
Step 1: Turn Off the Water Supply
Locate the shut-off valves under the sink and turn them off. If unavailable, turn off your main water supply, then open the tap to release pressure.
Step 2: Remove the P-Trap
Use a wrench to loosen the slip nut on the P-trap, placing a bucket beneath to catch any water.
Step 3: Disconnect the Water Supply Lines
Carefully disconnect the water lines from the valves with a wrench, keeping the bucket nearby.
Step 4: Remove the Vanity Top
Cut through any old sealant with a utility knife, then pull the vanity top free from the wall.
Step 5: Separate the Vanity Top from the Base
If glued, use a hammer and chisel to detach the top from the base, working from the inside if you plan to reuse the top.
Step 6: Remove the Vanity Base
Unscrew the base from the wall and pull the vanity out. This is the ideal time to address any wall updates, like rerouting plumbing or adding new paint or tiles.
For more detailed instrctions, refer to our article, How To Remove a Vanity.
Freestanding Bathroom Vanity Installation Guide
Tools You’ll Need:
- Measuring tape
- Pencil
- Hole saw
- Drill with bits
- Spirit level
- Stud finder
- Adjustable wrench
- Pipe wrench
- Safety glasses and work gloves
- Bucket, chisel, and utility knife
- Caulk or silicone
Step 1: Mark the Placement
Begin by positioning the vanity where it will be installed, marking the outline on the wall for reference. Measure and mark the height and width to ensure alignment, noting plumbing points for later drilling.
Step 2: Prepare the Vanity for Plumbing
For wall plumbing, measure from the wall to the pipes’ centre, then mark these measurements on the back of the vanity. For floor plumbing, measure the distance from the plumbing to the wall. Use a hole saw to drill holes that match your plumbing layout.
Step 3: Remove Doors and Drawers
Take out any doors and drawers to lighten the vanity, making it easier to handle and reducing the risk of damage.
Step 4: Position the Vanity
Move the vanity into its designated place, aligning it with your markings on the wall. Check with a spirit level to ensure it’s even from side to side and front to back. Adjust the legs if your vanity has them or use shims if necessary.
Step 5: Secure the Vanity
Using a stud finder, locate the wall studs and mark their positions on the vanity’s back. Drill pilot holes, then use screws to secure the vanity to the wall studs, providing solid support.
Step 6: Install the Vanity Top
- Attach the Mixer Tap: Install the mixer tap, plug, and waste fittings onto the vanity top before setting it in place. (Refer to our article, How to Install a Basin Mixer Tap, for instructions)
- Apply Silicone Adhesive: Run a thin bead of silicone adhesive along the vanity’s top rim.
- Set the Vanity Top: Carefully place the vanity top on the base, aligning it with plumbing holes. Press firmly and let the adhesive cure.
Step 7: Connect Plumbing
- Reconnect the Drain: Attach the drain to the P-trap, trimming the tailpiece as needed.
- Reconnect Water Supply: Connect the water supply lines to the valves. If the valves are old, consider having a licensed plumber replace them.
Step 8: Final Touches
- Apply Caulk or Silicone: Seal along the vanity’s edges where it meets the wall, wiping away excess for a clean finish.
- Test for Leaks: Turn the water on, checking for leaks around the valves and drain, and tighten connections if needed.
- Reattach Doors and Drawers: Once the plumbing is secure, reinstall any doors and drawers.
Your new bathroom vanity is now installed and ready for use! into the marked studs to fix the vanity into place. Your vanity is now ready for the plumber to connect the tapware and basin.
Choosing a Freestanding Bathroom Vanity
If you haven’t already purchased your freestanding bathroom vanity to install, then there are a few things to consider, including size, quality, and configuration. Doing so will ensure you select the best vanity for your needs and space.
The right size vanity, in most cases, will be stipulated by the size of your bathroom. You want at least 300mm clearance on each side of the vanity. If you are not limited by space, decide based on the number of people using the vanity. i.e., a 1200mm or 1500mm vanity would be suitable for a family bathroom.
A vanity’s quality shouldn’t be overlooked by its design. Quality is more important. Look at what the vanity is made from and the warranty. It should be made from Moisture Resistant Board (MRB) and have a minimum 5-year warranty, such as those in our range. We also have 100% waterproof PVC vanities for superior longevity.
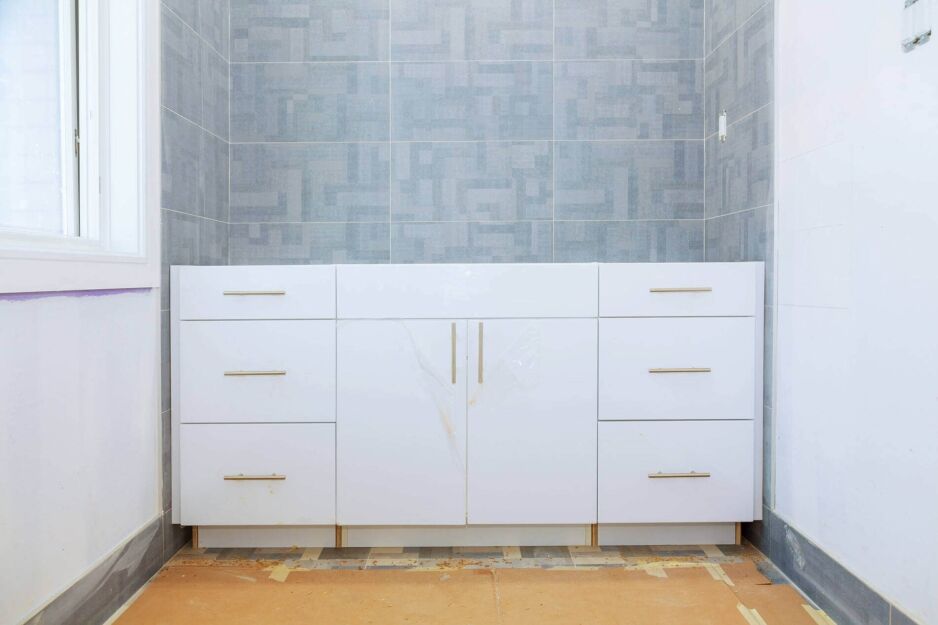
Lastly, the configuration matters; again, a functional vanity is better than a stylish one. Consider your needs and preferences and choose accordingly. i.e., do you prefer doors or drawers or both? Whether you want only drawers or doors, two doors and two drawers, or four drawers and two doors, etc., you will find just what you’re after in our range.
Conclusion
Installing a new bathroom vanity is a great way to improve the functionality and design of a bathroom. It will not only better facilitate your needs, but it will also slash years off the age of your bathroom.
Ross’s Discount Home Centre’s bathroom vanities couldn’t be any easier to install. They are delivered pre-assembled, so all you have to do is position it in place, mark out and drill the holes, and fix it to your wall studs for the plumber to connect the plumbing.
Give your bathroom that much-needed makeover on a shoestring budget by installing a new bathroom vanity today. Browse our bathroom products online or visit our Guildford store to view our entire range of vanities. We have the perfect configuration to meet your preferences and budget.